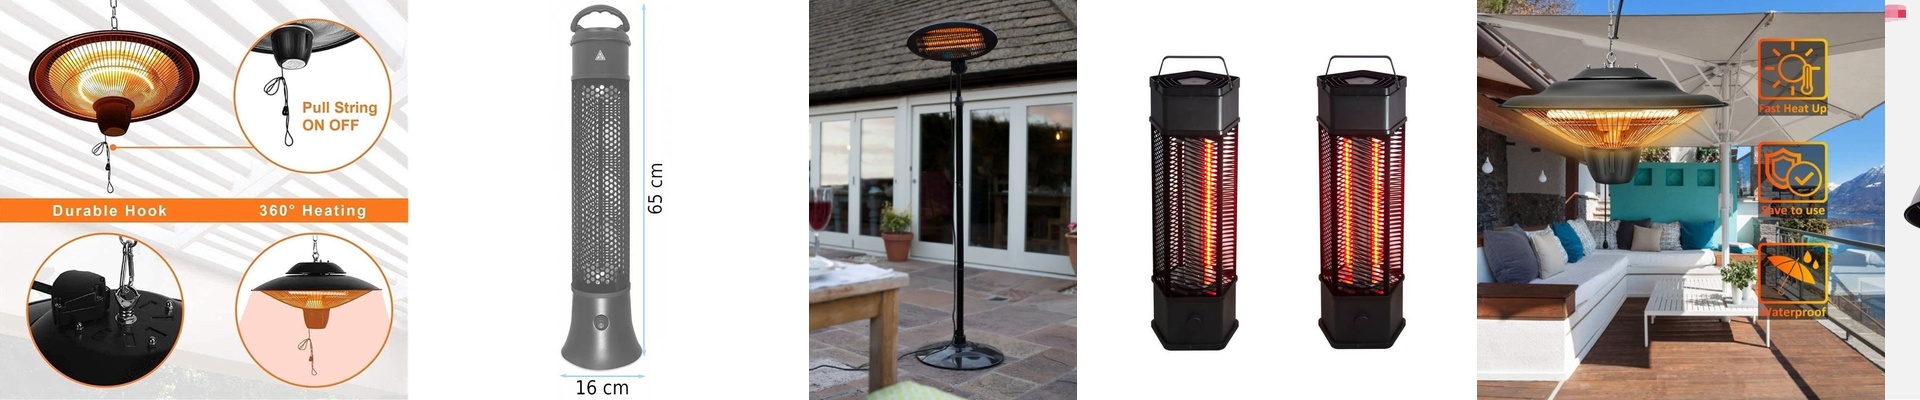

Why your IP65 heaters actually fail (and how to stop it)
Here is a little secret about IP65 heaters: it’s rarely the heating element that gives out. Usually, the real trouble starts right where the lead wires enter the housing. In those high-wattage infrared systems, that specific spot becomes a bottleneck for heat. If the sealing is a bit sloppy, heat starts creeping backward into the wiring. Before you know it, the insulation gets brittle, cracks, and—boom—you’ve got a short circuit. The “Cooking” Problem A lot of shops just use basic silicone potting. For a hobby project? Sure. For industrial cycles? Not a chance. We do things a bit differently. We use a multi-stage seal that keeps the heat zone and the electrical connections completely separate. By using fluoropolymer sleeves and compression seals, we stop “thermal wicking.” That’s a fancy way of saying we stop the heat from traveling up the copper wire and cooking the insulation from the inside out. Cheap vs. Real Craftsmanship You’ll see a lot of cheap heaters that use dip-coating. It looks sealed at first glance, but as soon as the unit starts heating and cooling, that coating shrinks. We stick with precision-molded gaskets and vacuum-sealed epoxy. It means the waterproof rating actually stays intact even when the unit is running at full blast. You won’t see the insulation pulling away from the terminal. It just stays tight. The Reality Check Now, there is a trade-off. When you seal something this tight, internal pressure builds up as it heats up. To handle that, we pick materials that expand and contract at the same rate. But keep in mind: if you’re cramming these heaters into a tiny, confined space at max capacity, your external cabling still needs to be rated for high heat. The seal protects the guts of the machine, but it can’t fight the laws of physics—the air around the unit is still going to get hot. Just use high-temp leads and give your housing some room to breathe. That’s the easiest way to end the burnout cycle.