Drying MEMS Sensor Wafers with IR Heating
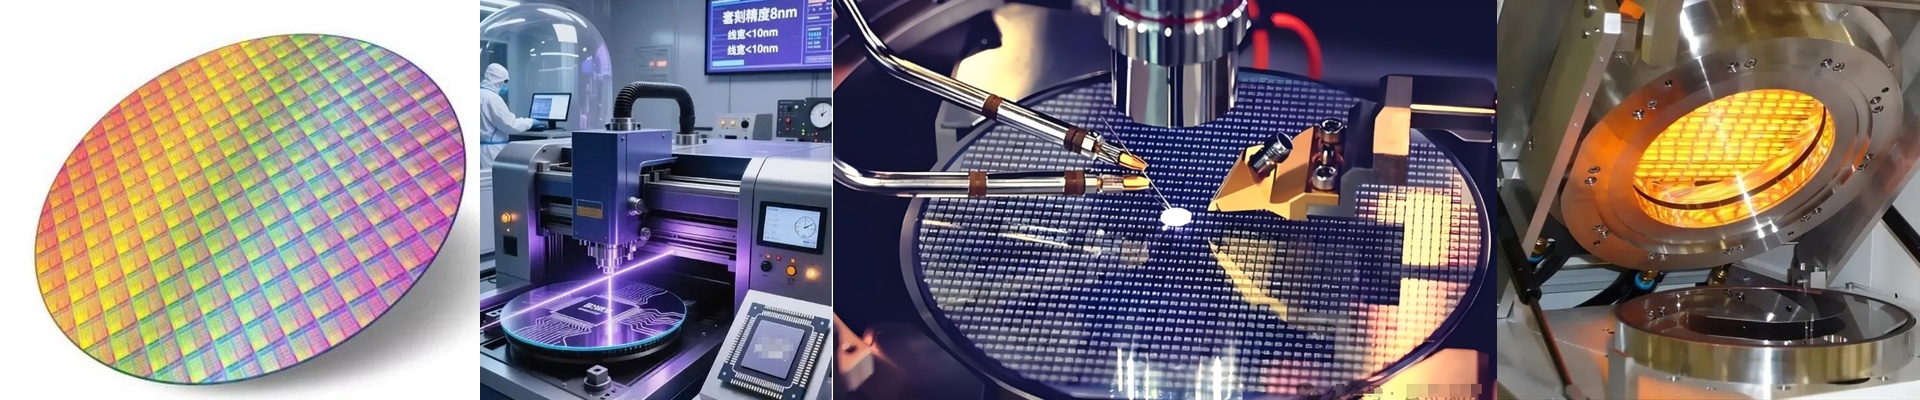
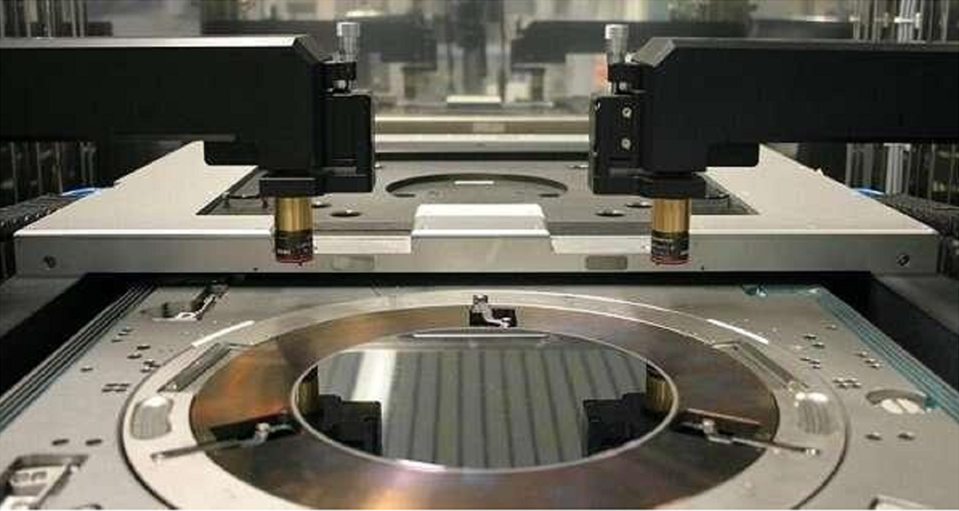
If you’ve ever worked in MEMS fabrication, you know the headache of getting rid of residual moisture after wet etching or cleaning. It’s a total bottleneck. Most people just throw everything into a convection oven, but that’s basically like heating your entire house just to warm up a slice of pizza. It wastes a ton of energy. That’s why we use short-wave infrared (IR) lamps. Instead of heating the air around the wafer, we hit the surface directly. It’s a much smarter way to run a green factory. The Speed Factor The best part? The ramp-up is nearly instant. Resistive heaters take forever to get going, which means you’re burning power just waiting for the machine to wake up. IR lamps don’t do that. They hit the operating temperature immediately. Because we’re using the short-wave spectrum, the heat sinks into the wafer and flashes off the liquids before the substrate even has a chance to overheat. You end up with a smaller machine and a much lower power bill. The Nitty-Gritty of the Build We use high-purity quartz envelopes for the lamps. In a semiconductor fab, metallic contamination is a nightmare, so we don’t take any risks there. We also tune the filaments so the emission peaks match exactly what the wafer material needs to absorb. But you have to be careful. If you dump too many watts into one spot, you’ll warp the wafer or cause thermal shock. To stop that from happening, we play around with the lamp distance and use pulsed power controllers. It keeps the temperature steady and safe. The Trade-offs Switching to IR makes life easier in a few ways. You cut down on idle power and you can toss out those massive, clunky forced-air plumbing systems. But here’s the catch: IR is line-of-sight. If your wafer carrier has thick ribs or any kind of shielding, you’re going to get cold spots. You have to get the alignment perfect—especially on 200mm or 300mm surfaces. If you’re even slightly off, you’ll see drying streaks, and that’s a quick way to kill your sensor yield.